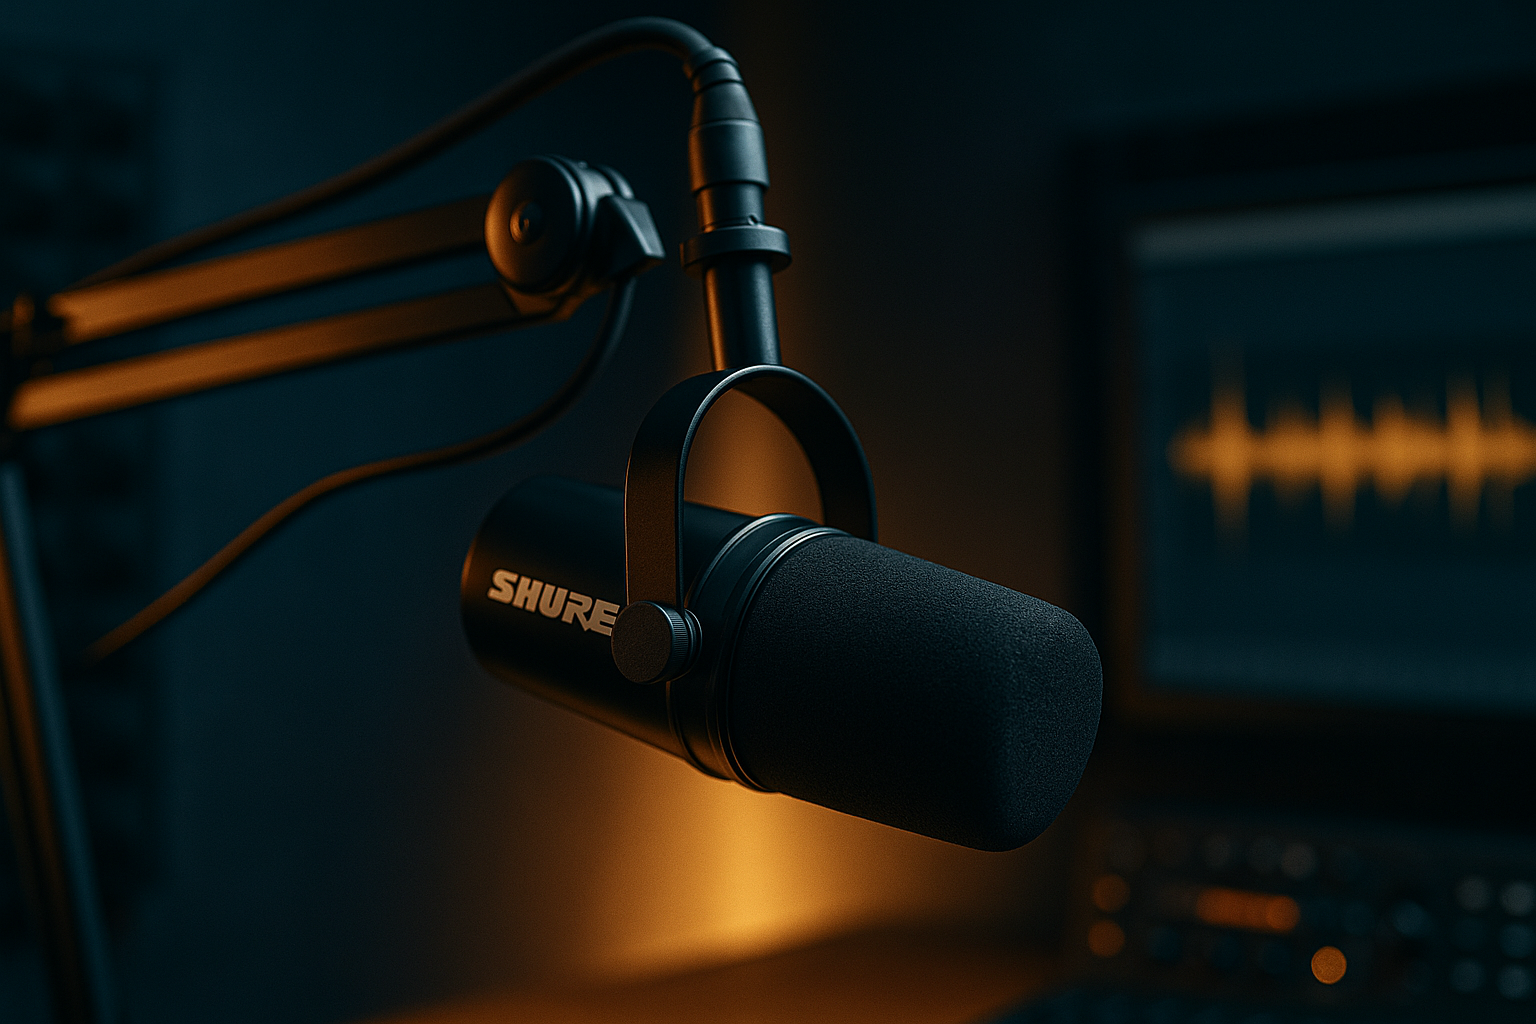
Shure MV7 Setup Guide for Studio-Quality Voiceovers
Shure MV7 Setup Guide for Studio-Quality Voiceovers
Some creators are pulling in real income from audio content recorded in a spare bedroom. No studio rental. No engineer on payroll. Just clean audio, a repeatable system, and owned traffic that compounds while they sleep. The Shure MV7 is the microphone sitting at the center of a lot of those setups. Here's exactly how to configure it so your recordings hold up.

Why Choose the Shure MV7?
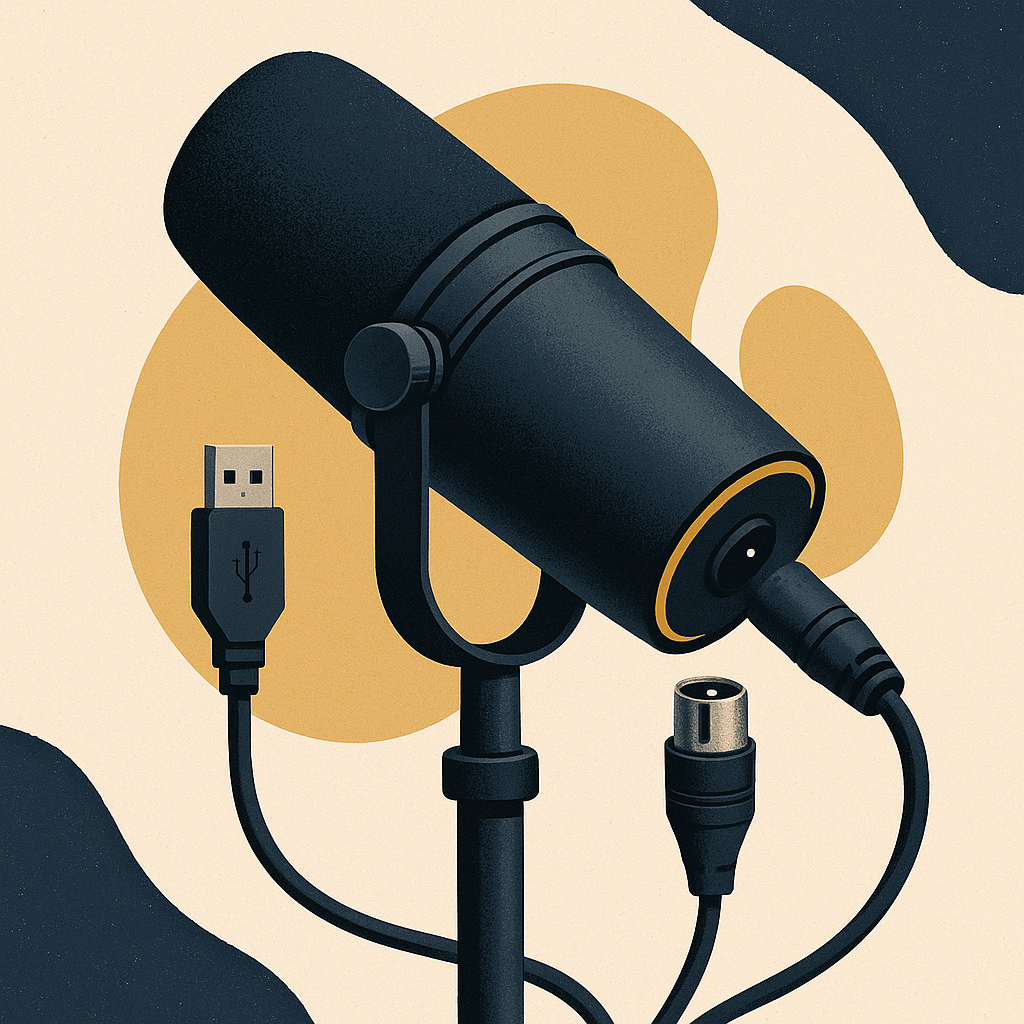
You're not just buying a microphone. You're buying a tool that compounds your output. The MV7 runs dual USB/XLR output, which means it works whether you're a beginner plugging straight into a laptop or a more experienced operator running through an audio interface. No extra gear required on day one. Connect it, and you're recording.
Check out the Shure MV7 on Amazon.Setting Up Your Shure MV7: The Essentials
Here's the straightforward path to getting the MV7 dialed in for voiceovers that sound professional, even if you're sitting in your living room.
- Unbox and Connect: Plug the MV7 into your computer via USB. That's it for hardware. No interface, no extra cables. It's the right starting point for a remote work setup.
- Install ShurePlus MOTIV App: Download the ShurePlus MOTIV app. This is where you control gain, tone, and monitor mix. Don't skip it — the app is what separates a decent recording from a clean one.
- Optimize Your Environment: The MV7 handles background noise well on its own, but a pop filter and a room with low echo will push your audio quality noticeably higher. Small adjustments, real difference.

Fine-Tuning Your Audio Settings
Once you're connected, the settings are where the real work happens. Here's what to adjust first:
- Adjust Gain: Inside the ShurePlus MOTIV app, set your gain so your voice peaks between -12dB and -6dB. That range gives you headroom without clipping.
- Set Tone: The app offers tone presets. For voiceovers, a dark tone adds warmth. A bright tone sharpens clarity. Try both and let the receipts — your actual recordings — tell you which one works.
- Monitor Mix: Balance your headphone mix so you can hear yourself clearly alongside any background tracks. If you can't hear the blend accurately, you can't fix problems in real time.
Integrating Your Voiceovers into Passive Income Systems
Clean audio is the input. The system is what turns it into owned traffic and income that works while you sleep. Here are three ways to put your recordings to work:
- Podcasting: Launch a podcast using your voiceovers. Platforms like Anchor distribute your episodes across major streaming services automatically. You record once; the system handles the rest.
- YouTube Content: Use your voiceovers to build faceless YouTube videos. You stay off camera entirely while tapping into YouTube's ad revenue and search traffic.
- Online Courses: Record course modules with your voiceovers and host them on a platform like Teachable. One recording session can generate income for months.
Tools to Enhance Your Setup
The MV7 carries the load on its own, but a few additions tighten the whole operation:
- Logitech MX Master 3S for editing with programmable buttons that cut repetitive steps.
- Keychron K2 for a tactile typing experience when you're working through scripts.
- Sony WH-1000XM5 for noise-canceling monitoring so you catch problems before they make it into the final file.
Next Steps: Start Building Your System
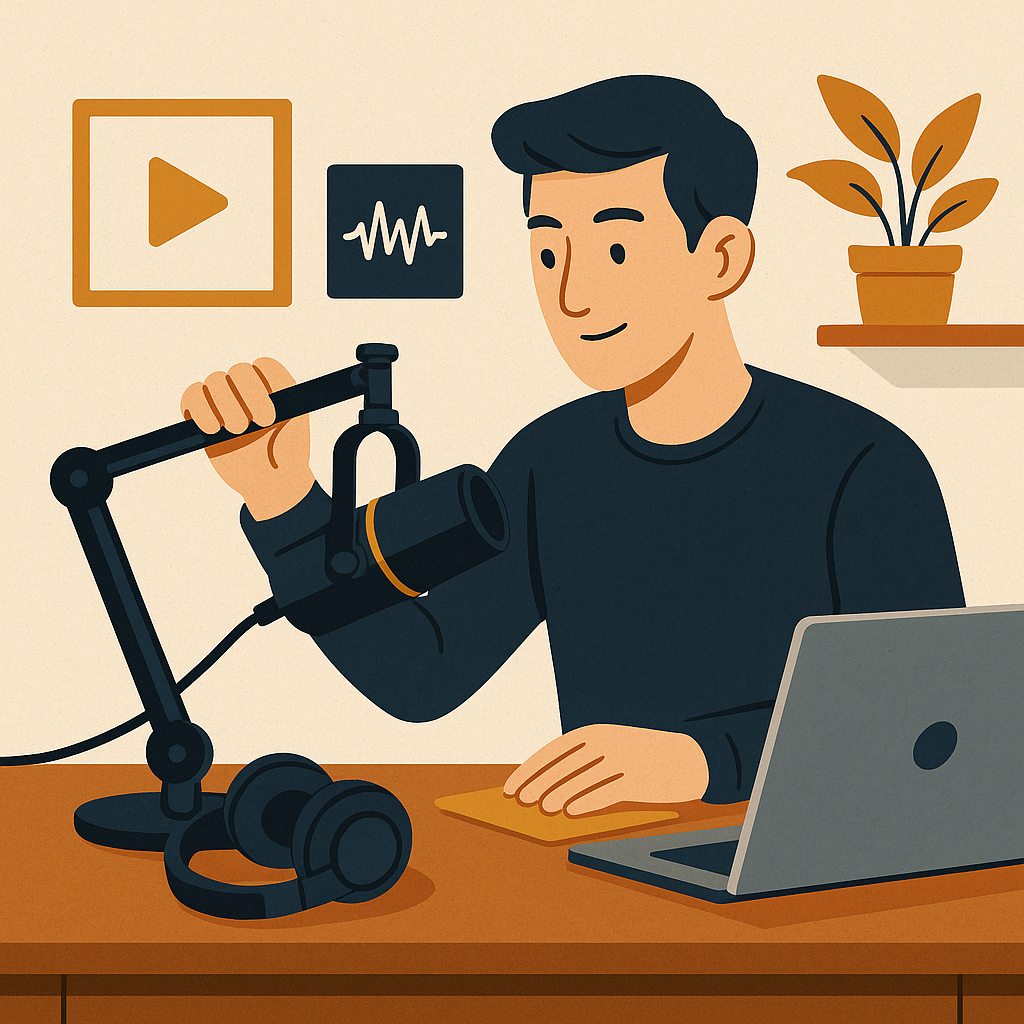
You have the gear. You have the setup. The real answer now is execution. Pick one channel — a podcast, a YouTube series, an online course — and build the system around it. The MV7 does its job quietly in the background while your content does the work.
The goal is owned traffic that compounds. For more on how to build that, visit The Silent Webmaster blog.
Ready to start? Get your Shure MV7 and put the first piece of the system in place.
Advanced Audio Techniques for Professional Voiceovers
Once the basics are solid, these techniques are what separate recordings that sound competent from recordings that sound like they came out of a professional booth. Each one is worth adding to your process.
- Dynamic Range Compression: Compression keeps your loud moments from overpowering and your quiet moments from disappearing. The result is a consistent listen from start to finish. Adobe Audition and Audacity both include compressors you can dial in to your voice specifically.
- EQ Adjustments: Equalization lets you shape your voice at the frequency level. Boosting the midrange adds warmth. A small lift in the high frequencies sharpens clarity. Run tests, compare the recordings, and let the audio tell you what's working.
- Noise Reduction: The MV7 cuts a lot of noise at the source, but post-production tools go further. iZotope RX can strip out background hums and hisses that survive the recording stage. Cleaner audio means longer listener retention.
Creating a Professional Home Studio Space
The MV7 performs well in most rooms, but a dedicated recording space makes the whole system more efficient and your audio more consistent.
- Acoustic Treatment: Acoustic panels or foam reduce echo and cut down on room reflections. You don't need to cover every wall — a few panels behind and beside you make a measurable difference.
- Ergonomic Setup: A solid microphone stand, a comfortable chair, and an adjustable desk matter more than most people expect. Long recording sessions are part of the system. Fatigue is not.
- Soundproofing: Heavy curtains, door seals, and window inserts block outside noise before it reaches the microphone. The less noise you let in, the less cleanup you do in post.
Leveraging Online Platforms for Distribution
Good audio sitting on a hard drive earns nothing. Distribution is what turns recordings into owned traffic and income. Here's where to put your work:
- Freelance Marketplaces: Fiverr and Upwork connect you directly with clients who need voiceover work. A strong profile with clean audio samples does the selling for you.
- Content Platforms: Patreon and Substack let you offer exclusive recordings to paying subscribers. One piece of content can serve that audience repeatedly while you sleep.
- Social Media Engagement: Short clips on Instagram or short-form video platforms build an audience that feeds back into your larger system. Consistency compounds faster than any single post.
Monitoring Performance and Continuous Improvement
A system you don't measure is a system you can't improve. Track these numbers and the receipts will show you where to focus:
- Client Feedback: Ask clients directly what worked and what didn't. That feedback is faster and more specific than any metric a platform gives you.
- Engagement Metrics: Play counts, downloads, and listener retention rates on YouTube and podcast platforms tell you which content holds attention and which loses it. Follow the data.
- Revenue Tracking: Watch your income by channel. Identify which platforms are producing and which are flat. Put more into what's working. That's how the system compounds.
Apply these techniques consistently and the quality of your voiceovers rises alongside your reach. That's the system working the way it's supposed to — quietly, steadily, while you sleep.
Understanding Microphone Proximity Effect
The proximity effect is straightforward: the closer you get to the MV7, the more bass frequencies build up in your recording. Knowing how to use that is a real advantage.
- Experiment with Distance: Start at six inches from the microphone and move in or out from there. Closer adds richness. Too close and the bass overwhelms everything else. Find the distance that fits your voice.
- Use Pop Filters: A pop filter lets you experiment with distance without plosive sounds wrecking the take. Keep one in place any time you're adjusting your position.
- Adjust EQ Settings: If the proximity effect pushes too much bass into your recording, roll off the low frequencies with EQ. The goal is a balanced sound, not a boomy one.
Disclosure: this article may contain affiliate links. If you buy through them, we may earn a small commission at no extra cost to you.